Description
Have you ever tried to take a picture of a jaw-dropping landscape only to have the sky be washed out and overexposed or the ground be dark and without detail. Until now, HDR was the only option to get detail across highlights, midtones, and shadows but would often lead to exaggerated effects and unrealistic images. Our cutting-edge Luminosity Mask technique in Photoshop will forever change the way you combine exposures!
In this tutorial, we walk you through how to manually blend exposures using the power and flexibility of Luminosity Masks. You will learn to create selections based on light levels and then use those selections to paint detail back into your photos. Better yet, we have included a custom-made Photoshop Action that makes this powerful process faster and easier than ever!
What’s Included
10 Video Tutorials | 11 Sample Images | Luminosity Mask Photoshop Actions
Free Section – Luminosity Masks vs. HDR
HDR and Luminosity Masks can both expand the dynamic range of your image. However, only Luminosity Masks give you the ability to customize and refine exposures for a more realistic effect. Learn how they differ here!
What are Luminosity Masks?
An uncommon Photoshop term with a simple definition, Luminosity Masks are tools that you can use in Photoshop to show or hide areas of an image based on the brightness of that area. Have an area that’s too bright? You can make a selection of only the highlights and then use a mask to hide and replace those areas with a better exposure.
Luminosity Masks vs. HDR
HDR is an automated process performed by a piece of software such as Lightroom or your smartphone’s camera application. Luminosity Masks are Photoshop tools which let you manually blend exposures together. While both can create great images, Luminosity Masks give you the ability to customize and refine your image, often yielding more realistic results. It’s sort of like comparing SpaghettiOs to your Grandmother’s homemade pasta. SpaghettiOs are nice (and sometimes necessary) but we would much rather take the trip to Grandma’s.
Fix Underexposed & Overexposed Photos
In this tutorial, we show you how to combine multiple exposures to create one seamless final image. Luminosity Masks allow you to combine exposures to recover information from the brightest highlights to the darkest shadows. This will ensure that your photos fully capture the depth and detail in a scene. We even show you how you can take advantage of Luminosity Masks when you only have one photo available!
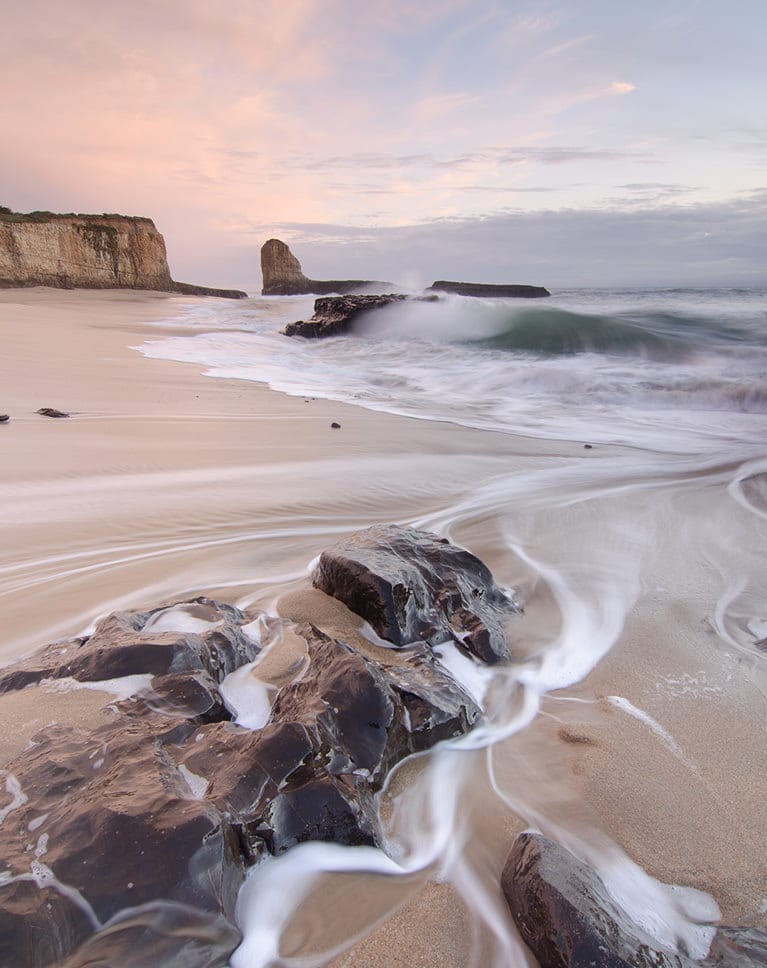

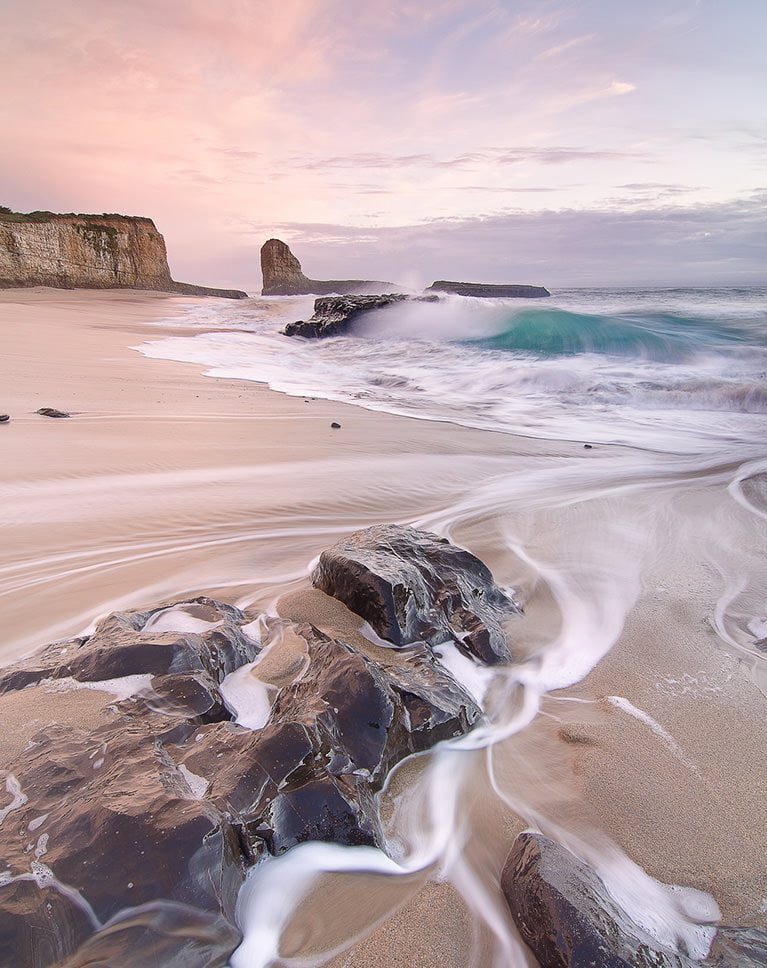


ENHANCE COLOR WITH LUMINOSITY MASKS
ORIGINAL
Working With RAW
When it comes to making adjustments to an image, nothing comes close to working with RAW files in Adobe Camera RAW. Editing RAW allows you to edit and sculpt the original information captured by your camera’s sensor. This means changes that will look ultra-realistic in the final image. For an in-depth look at RAW workflow, be sure to watch our tutorial How to Master Adobe Camera RAW in Photoshop!
Create Stunning Landscape Photos
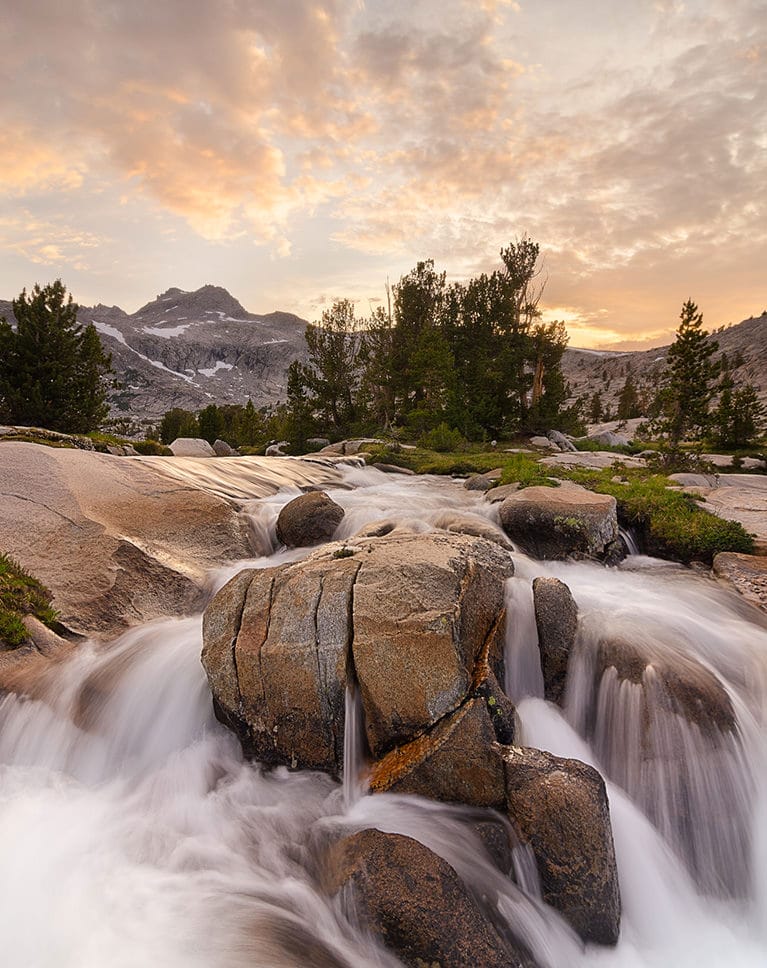
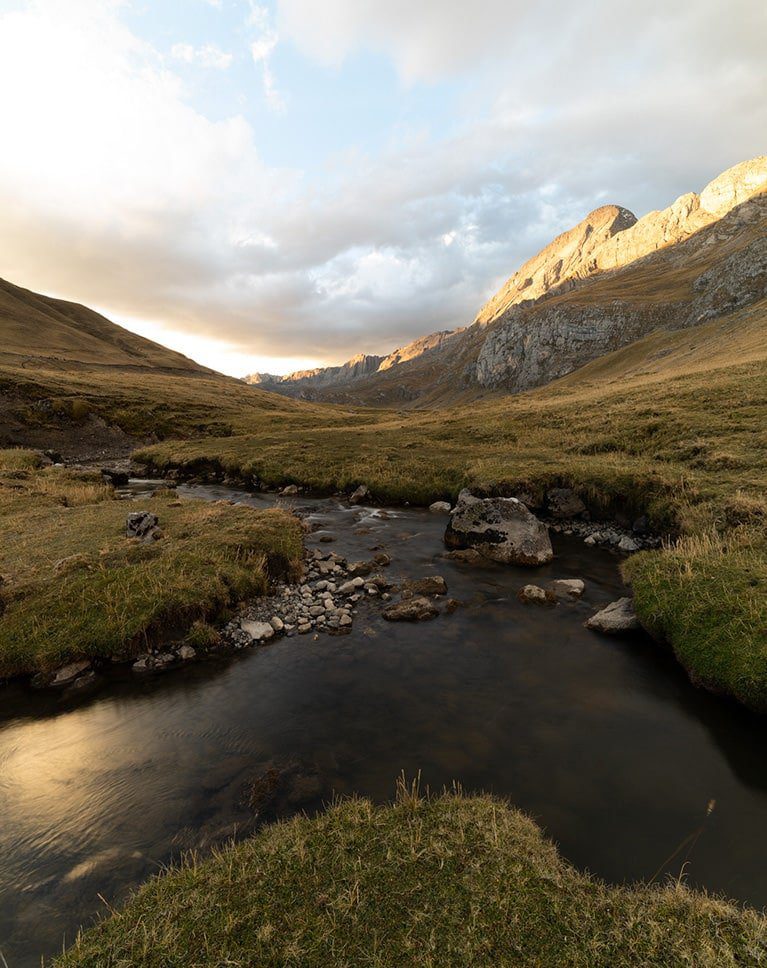
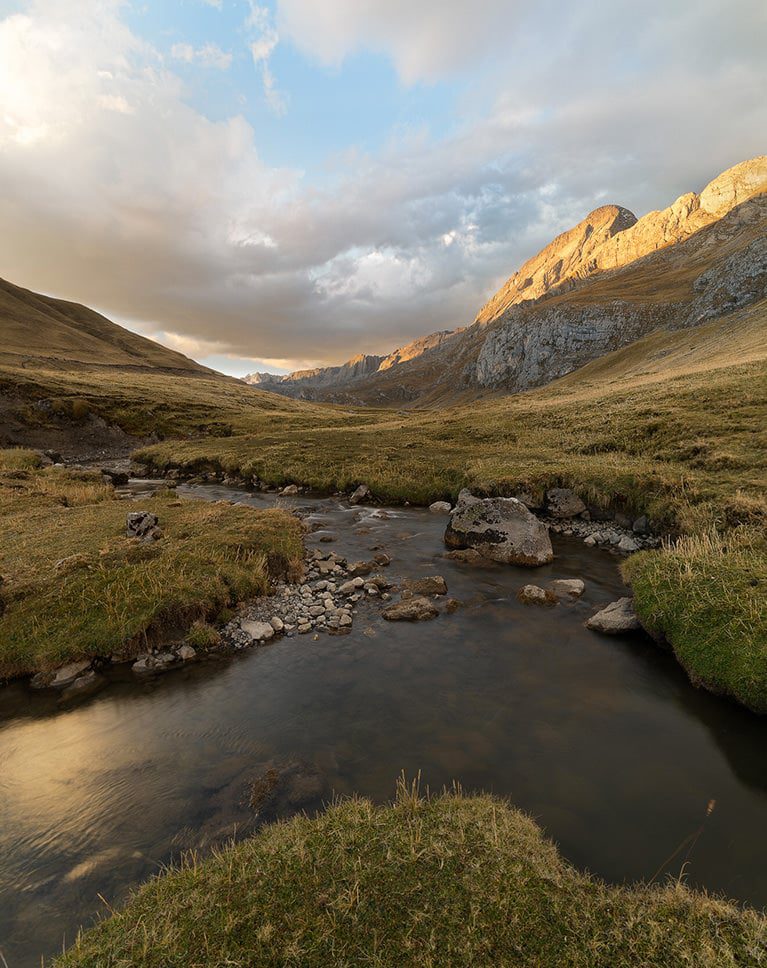
Shooting outdoors comes with its own unique challenges. You are often shooting an area that has a large, bright light source (the sun and sky) against an area that is much darker (the ground). Luminosity Masks are a phenomenal tool to help make the most out of your landscape images, allowing you to capture all the details of the sky and landscape below.
Color Adjustments
Luminosity Masks are great at helping us blend exposures but they can also be a powerful tool for coloring our images. By combining accurate selections based off of light levels with the flexibility of RAW, we can make dynamic changes to the color in our images that are both stunning and realistic.
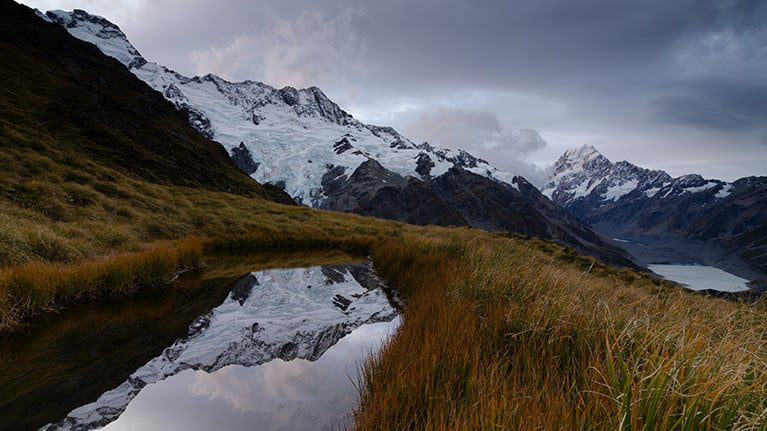

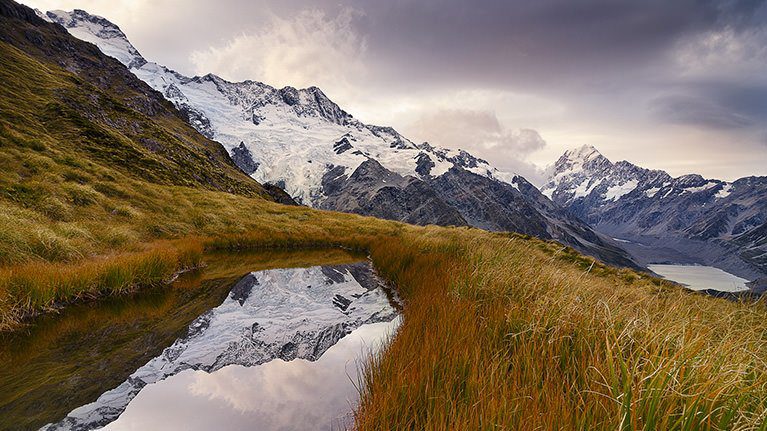


IMPROVE DYNAMIC RANGE
ORIGINAL
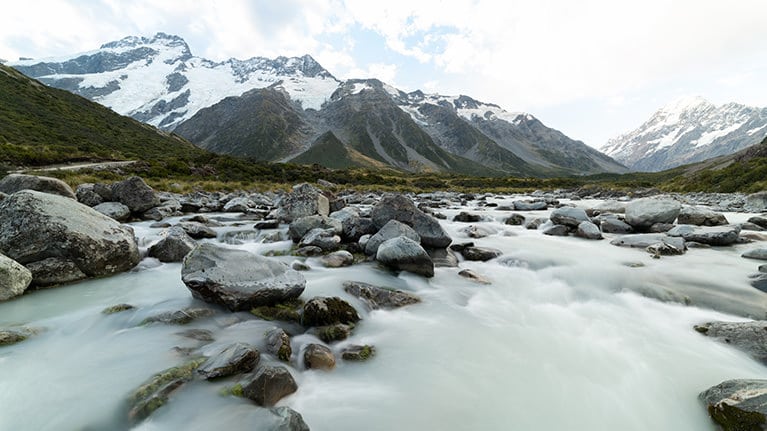

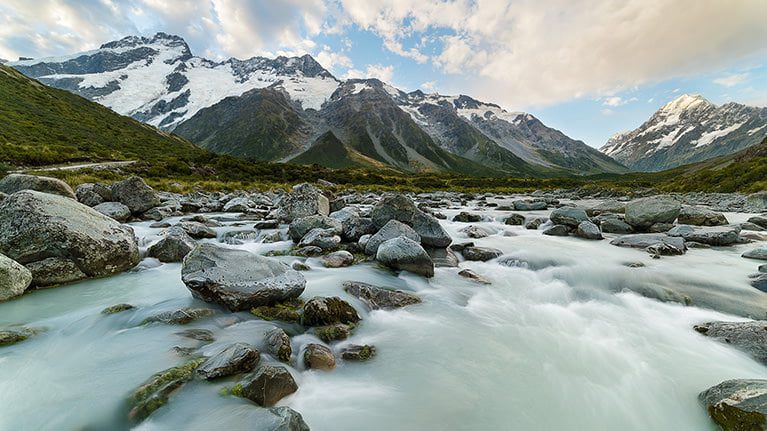


RECOVER SKY DETAIL
ORIGINAL
Beautiful, Dramatic Skies
It can be tough to capture a bright, beautiful sunset and dark, moody clouds while still expecting your camera to capture all of the color and details. In this tutorial, we walk you through several examples where we take a boring sky and transform it into something extraordinary by combining multiple exposures of the same scene.
Working With RAW
When it comes to making adjustments to an image, nothing comes close to working with RAW files in Adobe Camera RAW. Editing RAW allows you to edit and sculpt the original information captured by your camera’s sensor. This means changes that will look ultra-realistic in the final image. For an in-depth look at RAW workflow, be sure to watch our tutorial How to Master Adobe Camera RAW in Photoshop!
Included Photoshop Action
By now, we hope you’re impressed by the potential of Luminosity Masks. But what if we told you that you can harness the power of these incredible tools AND make it happens in half the time? We have created a custom Photoshop Action that can be used on any image to quickly and accurately create several selections based on light levels in the image.
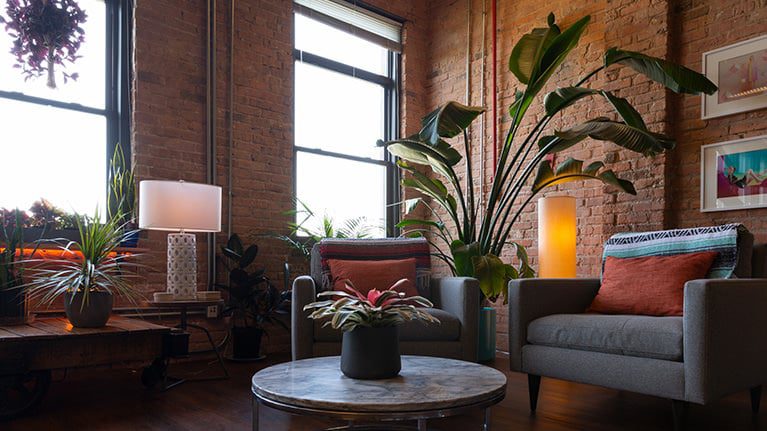

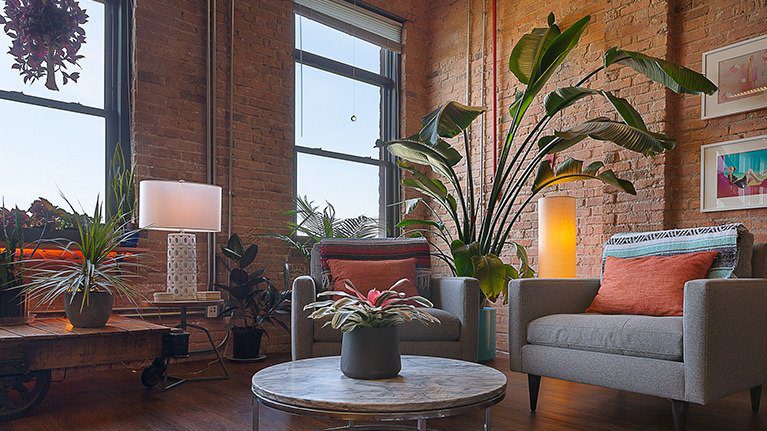


PERFECT FOR INTERIORS & ARCHITECTURE
ORIGINAL
Enhance Detail in Any Photo
While landscapes are a great use for Luminosity Masks, any photo can take advantage of this powerful tool. Shooting a portrait or other interiors against bright windows? You can use the techniques we teach to make sure your subject looks great while still bringing in some of the detail from outside.
Learn Photo Bracketing
Not only do we show you the post-production process for combining multiple exposures but we also provide essential tips and tricks for capturing all of the exposures you’ll need in-camera. Learn how to optimize your camera settings for photo bracketing and take properly exposed images for the highlights, midtones, and shadows.
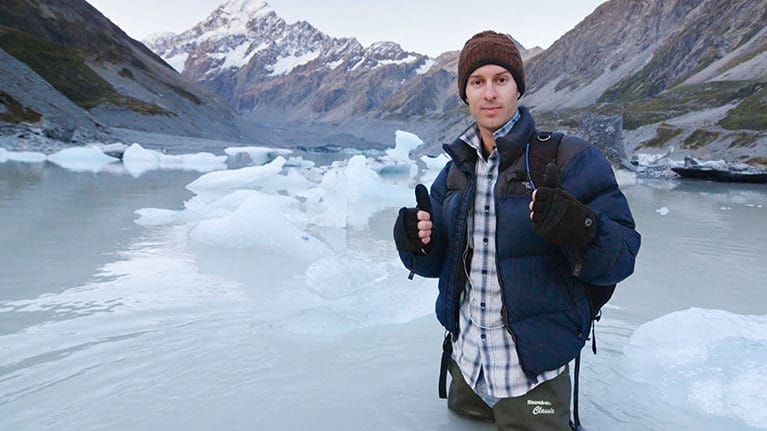

Joshua Cripps
Landscape Photographer, Educator
Special thanks to Joshua Cripps for providing his incredible landscape photos in 16-bit RAW for download in this tutorial.
Not only is Joshua an acclaimed landscape photographer, he also teaches in person workshops and online tutorials.


ff